Table of Contents
Preparing for your first dermal filler can produce a lot of questions.
Some of them might be:
“How should I prepare for it?”
“What will they do to me during the treatment?”
“What should be my expectations after receiving dermal fillers?”
Do not worry because we made this guide with you in mind. This post will guide you through the process of a typical dermal filler treatment. We will explain the basics of dermal fillers and the step-by-step procedure.
The goal is to help you feel informed and comforted. Above all else, we’ll help you be ready so that your first dermal filler experience is a positive one.
Understanding Dermal Fillers: Learn About The Basics
Dermal fillers refer to injectable treatments formulated with specific substances. They help restore facial volume and smooth fine lines.
Unlike their surgical counterparts, dermal fillers provide a non-permanent yet effective approach to facial rejuvenation. Results can last several months to a year or longer, depending on the specific product and area treated.
At the Better Body Shop in Houston, we prioritize patient comfort and satisfaction. This is why we offer tailored treatments that fit with each patient’s aesthetic goals. By so doing, we ensure a natural and refreshed appearance.
The best dermal fillers are those approved by the U.S. Food and Drug Administration. These gel-like substances have been clinically tested to ensure they are safe and effective for cosmetic use.1
Now, let’s explore how to prepare for your first dermal filler appointment. Here’s what you can expect throughout the process.
Step 1: Preparing for Your First Dermal Filler Appointment
A successful dermal filler session begins with thoughtful preparation. Here’s what you need to know before the treatment:
Initial Consultation
The consultation is an essential first step. Here, you will meet with a trained practitioner to discuss your aesthetic goals, medical history, and any specific concerns. The consultation includes:
- Goal discussion: You will share your objectives regarding your dermal filler treatment. It may be for adding volume to your cheeks, defining your jawline, or minimizing fine lines. Our practitioner will recommend the best filler type based on your requirements.
- Assessment of skin and facial structure: Every face is unique. This is why our practitioner will assess your facial structure. This includes your skin type and areas for potential treatment.
- Review of medical history: In this step, you will disclose allergies, current medications, and specific health conditions. All of these are vital to ensure your safety during your dermal filler session.
- Realistic expectations: Our assigned practitioner will explain what dermal fillers can achieve for you. This ensures you have a clear and realistic understanding of the potential results.
Remember: The consultation stage is a great opportunity for you to clarify everything about dermal fillers. Be honest with the practitioner assigned to you to manage your expectations. This also leads to optimal results.
Preparing for the Dermal Filler Treatment
At this stage, you have already decided to proceed with the treatment. Now, there are some preparatory steps that you should follow:
- Avoid blood-thinning medications and supplements: Part of your preparation is to avoid aspirin, ibuprofen, and blood-thinning supplements. Examples of the latter are fish oil or vitamin E. These substances increase the risk of bruising. Do this step at least a week before your appointment.
- Limit your alcohol intake: Refrain from ingesting alcohol 24 hours before the procedure. This substance can increase bruising and swelling.
- Stay hydrated and rested: When you are hydrated and well-rested, it enhances your body’s response to treatment. This also contributes to optimal results.
Remember: Taking these steps carefully sets the stage for a smoother dermal filler experience. Additionally, they contribute to quicker recovery.
Step 2: The Dermal Filler Procedure – What Happens During Your Appointment
Your nerves will ease when you know what will happen during the treatment. It also helps boost your confidence. Here’s a breakdown of the typical dermal filler process:
Step-by-Step Guide to the Procedure
- Preparation and Numbing: The treatment area will be thoroughly cleaned. Afterward, topical numbing cream may be applied to enhance comfort.
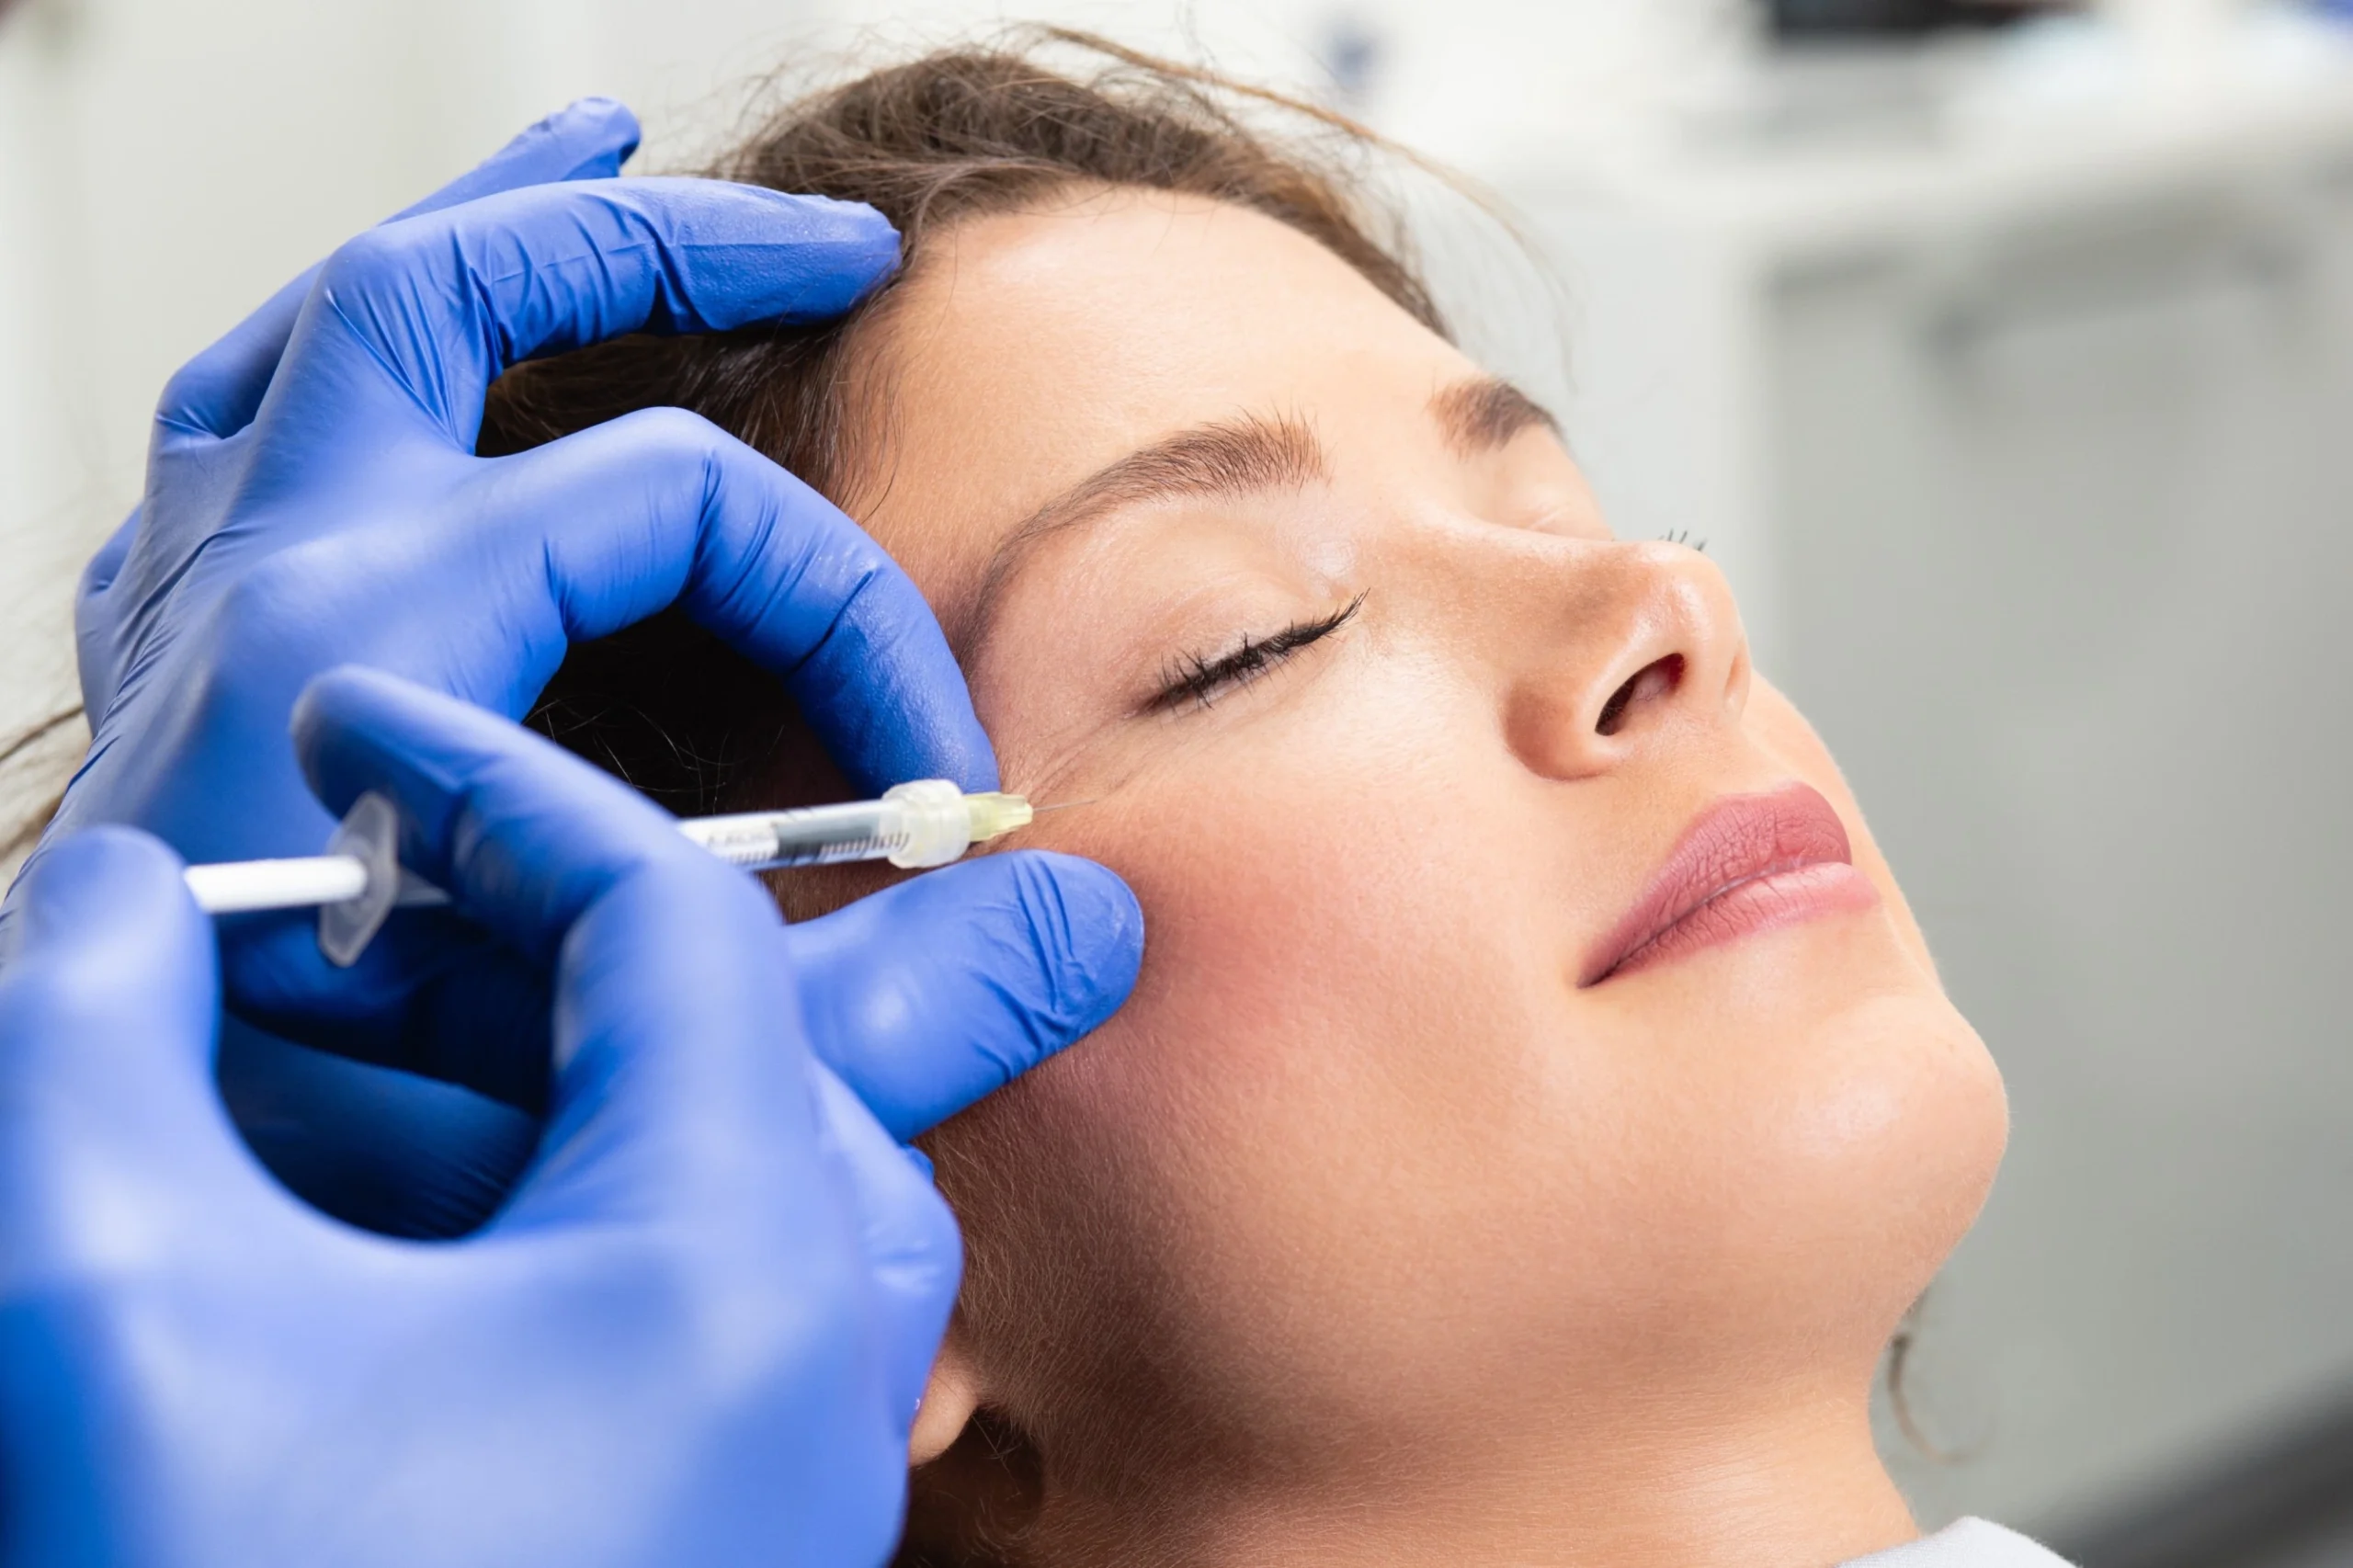
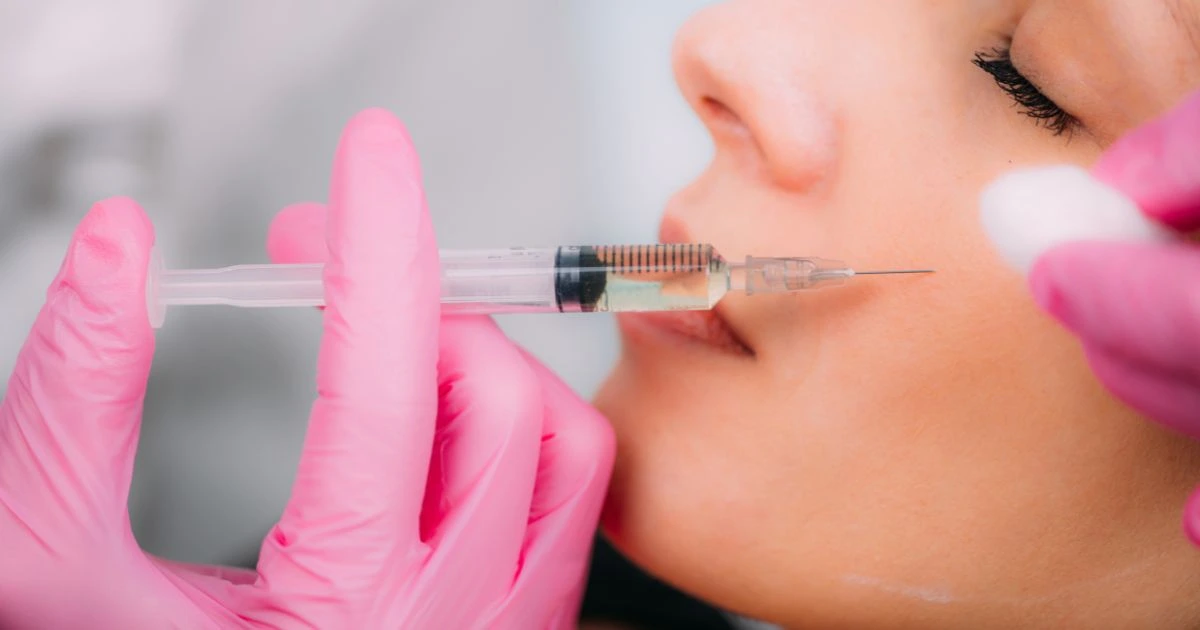
- Injection Process: The practitioner injects the dermal filler into predetermined areas. This is done using a fine needle or cannula. Each injection is precise. It is strategically placed to create a balanced, natural-looking enhancement.
- Sculpting and Contouring: After injecting the filler, the practitioner may gently massage the area. This step will ensure smooth and even distribution of the filler. The step is essential in achieving natural-looking results.
- Evaluation and Adjustments: Here, the filler has been injected completely into the treated area. You and the practitioner assigned to you will review the results together. Suppose some touch-ups are needed; these can be done at this stage.
Remember: The entire process usually takes 30 to 60 minutes, depending on the treated areas. Patients may typically resume their day immediately afterward. However, there may be some temporary swelling or redness.
Step 3: Aftercare and Recovery Tips
One highlight of dermal fillers is their straightforward recovery. However, proper aftercare can make a noticeable difference in comfort and results.
Immediate Aftercare
- Avoid touching or applying pressure: For the first 24 hours, do not touch, rub, or massage the treated area. This helps prevent filler displacement.
- Ice application: Gently apply ice to the area to reduce swelling and bruising. Wrap the ice in a cloth to avoid direct skin contact.
- Stay upright: Avoid lying down for a few hours following your dermal filler treatment. This step helps settle the filler correctly.
Short-Term Recovery (First Few Days)
- Limit intense physical activity: To minimize swelling in the treated area, avoid strenuous activities for 24 to 48 hours post-treatment.
- Avoid heat exposure: Refrain from sunbathing, hot tubs, and saunas for a few days. This is because heat can exacerbate swelling.
- Stay hydrated: Drinking plenty of water helps in skin hydration. It even helps to maximize the filler’s effect.
Remember: Some results of dermal fillers are visible immediately after. However, optimal results usually appear after the initial swelling subsides. During this period, you’ll notice a fuller and more contoured look in the treated area. Results can last for six months or over a year.
Dermal Filler Treatment Benefits
Dermal fillers have risen to fame due to their several benefits. Below is a quick list of the dermal filler advantages:
- Non-surgical solution
- Immediate results
- Customizable treatments
- Minimally invasive
- Boosts collagen production
- Quick recovery
Addressing Common Concerns and Side Effects
It’s natural to have some questions regarding dermal fillers’ side effects and safety. Here are some of the most common considerations for first-time dermal filler patients:
- Mild swelling and bruising: These are the most known side effects. The good news is they typically resolve within a few days.
- Tenderness: Some tenderness in the treated area is completely normal. It will gradually subside.
- Temporary redness or bumps: Minor redness or small bumps are expected, as well. However, they should disappear within hours.
Why Choose The Better Body Shop for Dermal Fillers in Houston?
At the Better Body Shop, our commitment involves:
- Providing personalized care
- Delivering results that enhance your natural beauty
Our practitioners are trained in advanced techniques. They will ensure each dermal filler treatment is performed safely and effectively. Moreover, they are knowledgeable to tailor each treatment to meet the patient’s needs and expectations.
Learn more about how dermal fillers can enhance your look—schedule your consultation today!
Frequently Asked Questions About Dermal Fillers
How long do dermal fillers last?
Results can last between 6 to 18 months. However, it still depends on the type of filler applied and the area treated.
Are dermal fillers painful?
Most of our patients report mild discomfort during their procedures. Numbing agents are available and can effectively minimize discomfort.
What substances are typically used for dermal fillers?
Here’s an overview of the most common fillers and what they are suitable for:
- Hyaluronic Acid (HA) Fillers
HA is a naturally occurring substance in the skin. It helps keep the skin plump and hydrated. HA fillers are usually soft and gel-like. They are reliable for giving you a natural look and feel.
- Calcium Hydroxylapatite (CaHA) Fillers
CaHa is another innate substance of the body. It is found naturally in our bones. CaHa fillers have tiny calcium particles suspended in a gel. They are thicker than HA fillers. CaHa fillers often provide more structure.
- Poly-L-lactic Acid Fillers
Poly-L-lactic is a synthetic yet biocompatible substance. It is used to dissolve stitches. In dermal fillers, Poly-L-lactic acts as a collagen stimulator. This substance works within the skin to help rebuild collagen over time.
- Polymethylmethacrylate (PMMA) Fillers
PMMA refers to another synthetic, biocompatible material. PMMA is formulated with tiny microspheres. These stay under the skin to provide long-term structural support.
- Autologous Fat Injections (Facial Fat Grafting)
Autologous fat injections are unique. This is because they are using the patient’s own fat to restore facial volume.
Can I combine dermal fillers with other treatments?
Yes, many of our patients have tried combining fillers with our other treatments. Botox or microneedling can work well with dermal fillers for a more comprehensive cosmetic experience.
What if I’m unhappy with the results of my dermal filler session?
We can apply a particular enzyme to dissolve the HA fillers. This makes our dermal fillers flexible to our patient’s needs.
References:
1 Dermal Fillers (Soft Tissue Fillers)
2 Minimizing Bruising Following Fillers and Other Cosmetic Injectables


